ABS Plastic Locker Pre-Installation Checklist: 12 Things to Verify Before Delivery | Hengna
1. Measure the Available Floor Space
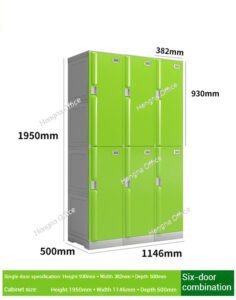
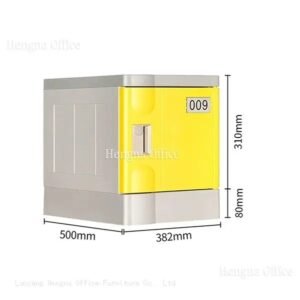
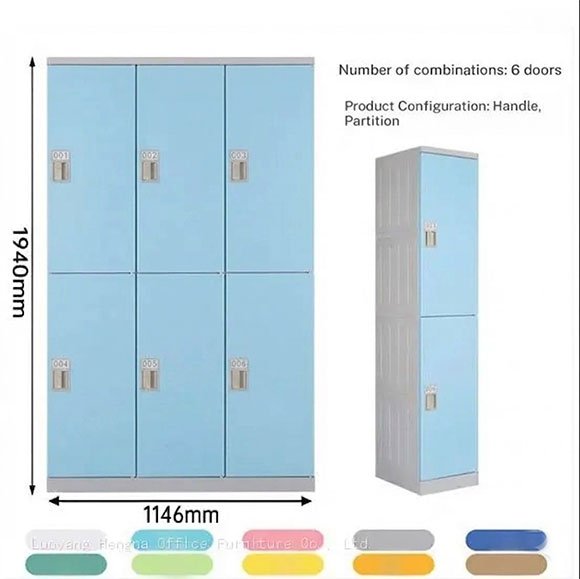
Start with a tape measure and a notepad. Measure the wall length where lockers will sit, the ceiling height, and the depth from wall to the nearest obstruction. ABS lockers come in standard widths between 300 and 380 millimeters, but the overall footprint changes depending on how many columns you run. A 3-column-by-5-row configuration at 380mm wide needs about 1,240 millimeters of wall space once you include side clearance and end panels.
Check the depth too. A standard ABS locker is about 450 millimeters deep. You need at least 900 millimeters of clear space in front for the door to swing open fully. If you are lining both sides of a corridor, double that and add 200 millimeters for two people to pass each other with doors open.
2. Check the Floor Condition
ABS lockers sit on a base frame, not directly on the floor. The base needs a flat surface. If your floor slopes toward a drain, common in pool changing rooms, you will need adjustable leveling feet on the base frame. Check for cracks, loose tiles, or uneven concrete. A 5-millimeter height difference across a 3-meter run is enough to cause a visible lean in the locker bank.
In wet areas, the floor should slope away from the locker base, not toward it. Standing water around the base frame shortens its life even though the locker body itself will not rust. The base frame is typically galvanized steel or stainless steel, so it handles moisture well but should not sit in a puddle 24 hours a day.
3. Verify Wall Anchoring Points
Tall locker banks need to be anchored to the wall for stability. ABS locker assemblies over 1,500 millimeters in height should have at least two anchor points per bank. Before delivery, check what your walls are made of: concrete block, stud-and-drywall, brick, or metal panel. Each wall type needs different anchors, and you want the right hardware on hand when the installers arrive.
If your walls are drywall over steel studs, you will need toggle bolts or drill into the studs directly. For concrete block, sleeve anchors or wedge anchors work best. Write this down now and hand it to your installer. It saves a trip to the hardware store mid-job.
4. Confirm Door Clearance and Swing Direction
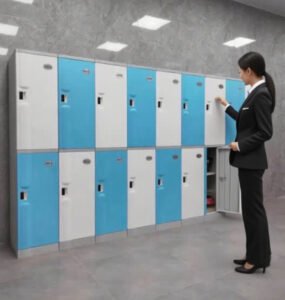
ABS locker doors can be ordered with left-hinge or right-hinge configurations. Before the order is finalized, walk the installation site and imagine every door open at once. Will a left-hinge door on the end column hit a wall? Will a row facing another row cause doors to clash when two people open them simultaneously?
For narrow corridors, consider alternating hinge directions so adjacent doors swing away from each other. In wider changing rooms, standard same-side hinges work fine. Either way, you want to decide this before the factory builds your lockers, not after they arrive on a pallet.
5. Evaluate Ventilation and Airflow
ABS lockers do not rust, but the stuff stored inside them can get musty if air does not move. Check the ventilation in your changing room or corridor. If the space has no mechanical ventilation, order lockers with vented doors or vented side panels. Vented doors have louvered slots that let air circulate while keeping line-of-sight privacy.
For pool and spa changing rooms where humidity is high year-round, combine vented lockers with an exhaust fan rated for the room volume. A good rule of thumb: the fan should move at least 8 air changes per hour in a wet changing room.
6. Map Out Electrical and Data Access
Are you installing electronic locks? RFID or PIN-code locks need power, either from a nearby outlet or low-voltage data cable run to each locker. Plan the cable routes before the locker bank goes in. It is much easier to run conduit behind where the lockers will sit than to fish wire through after the fact.
If you are using battery-powered electronic locks, you still want to know the battery replacement schedule and make sure someone on staff will be responsible for it. A locker bank of 60 electronic locks with dead batteries is just a row of expensive boxes.
7. Plan for Drainage in Wet Areas
If lockers are going into a poolside or shower-adjacent area, the floor under and around the locker bank needs a slight slope toward a floor drain. ABS lockers with raised bases keep the locker body 100 to 150 millimeters off the floor, which helps, but water that pools underneath for hours every day will eventually cause issues with the base frame or floor coating.
8. Check Door and Corridor Width for Delivery
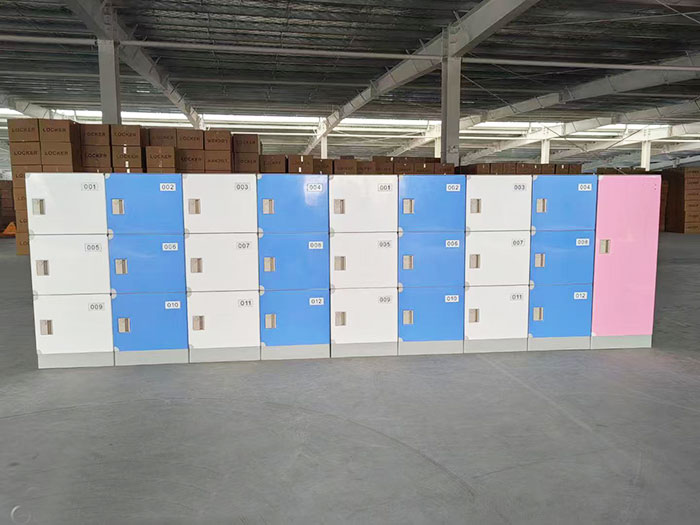
This is the step that gets skipped and causes the most stress on delivery day. Measure every doorway, corridor turn, and elevator interior between the delivery truck and the installation site. ABS locker assemblies ship in flat-pack cartons or partially assembled modules. A 3-door assembled module might be 900 millimeters wide by 1,800 millimeters tall. If your service elevator door is 850 millimeters wide, you have a problem.
Write down the narrowest point along the delivery path. Send it to your supplier before they ship. They can adjust the assembly level or ship in smaller sub-assemblies if needed.
9. Confirm the Base Frame Type
ABS lockers sit on a base frame, and you have options. A standard galvanized steel base works for most indoor applications. For wet areas, upgrade to a stainless steel base. For uneven floors, get a base with adjustable leveling feet. For areas that get hosed down for cleaning, get a raised base with at least 150 millimeters of clearance.
Confirm your base frame choice before the order locks in. Changing it after production means paying for a new base and waiting for it to ship.
10. Decide on Numbering and Labeling
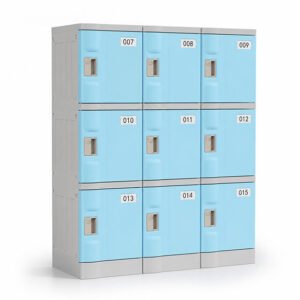
Locker numbers seem like a minor detail until you have 200 identical blue doors and nobody knows which one is theirs. Decide on your numbering system: sequential 1 through N, or column-row such as A1, A2, B1, B2. Get number plates or engraved tags ordered to arrive with or before the lockers.
For schools, recessed number holders prevent kids from peeling off stickers. For gyms, engraved plates outlast printed labels. The numbering method matters more than people think, and it costs almost nothing to get it right from the start.
11. Plan the Installation Schedule
Installing a locker bank is not a one-hour job. A 30-door configuration typically takes two installers a full day, including unpacking, base frame assembly, locker module mounting, door alignment, and hardware installation. Add half a day if electronic locks are involved. Schedule the installation when the space is empty. Trying to install lockers in a changing room that is still in use means stopping every few minutes to let someone through.
12. Do a Final Count Before Signing Off
When the pallets arrive, count everything before the delivery driver leaves. Check the packing list against what you ordered. Verify door colors, hinge sides, lock types, and base frame material. Opening a pallet two weeks later to find the wrong color doors is a conversation nobody wants to have with the supplier, especially if you already signed the delivery receipt.
Summary Checklist
- Floor space measured: width, depth, ceiling height
- Floor condition checked: flatness, cracks, slope direction
- Wall material identified and anchor hardware ordered
- Door swing directions confirmed for all columns
- Ventilation plan in place: natural, mechanical, or vented doors
- Power and data cable routes mapped for electronic locks
- Floor drain and slope verified for wet-area installations
- Delivery path measured at narrowest point
- Base frame type confirmed: galvanized, stainless, or adjustable
- Numbering and labeling method chosen
- Installation window scheduled with empty space
- Packing list verified before signing delivery receipt
Skip any of these and the fastest possible outcome is a delay. The more common outcome is paying extra to fix something that should have been right from the start. Walk this list, check every box, and your installation day will be boring in the best possible way.